 Blaine
 Building New in Birch Bay Means Building for the Water
Birch Bay sits right on the water, which is exactly why people build here — and exactly why the windows going into a new home need more thought than a standard spec sheet gives them. This stretch of Whatcom County gets steady salt-laden air off the bay, wind-driven rain that comes in sideways during winter storms, and a long stretch of damp, low-light months where moss and mildew get a foothold on anything that stays wet. A window that's fine two miles inland can underperform here if it's installed the same way.
This page is about one job specifically: installing new-construction windows in a Birch Bay build, from framing through final trim. Not replacement windows going into an existing opening — new windows going into new rough openings, where the flashing, the water-resistive barrier, and the window itself all have to work together as one system from day one.
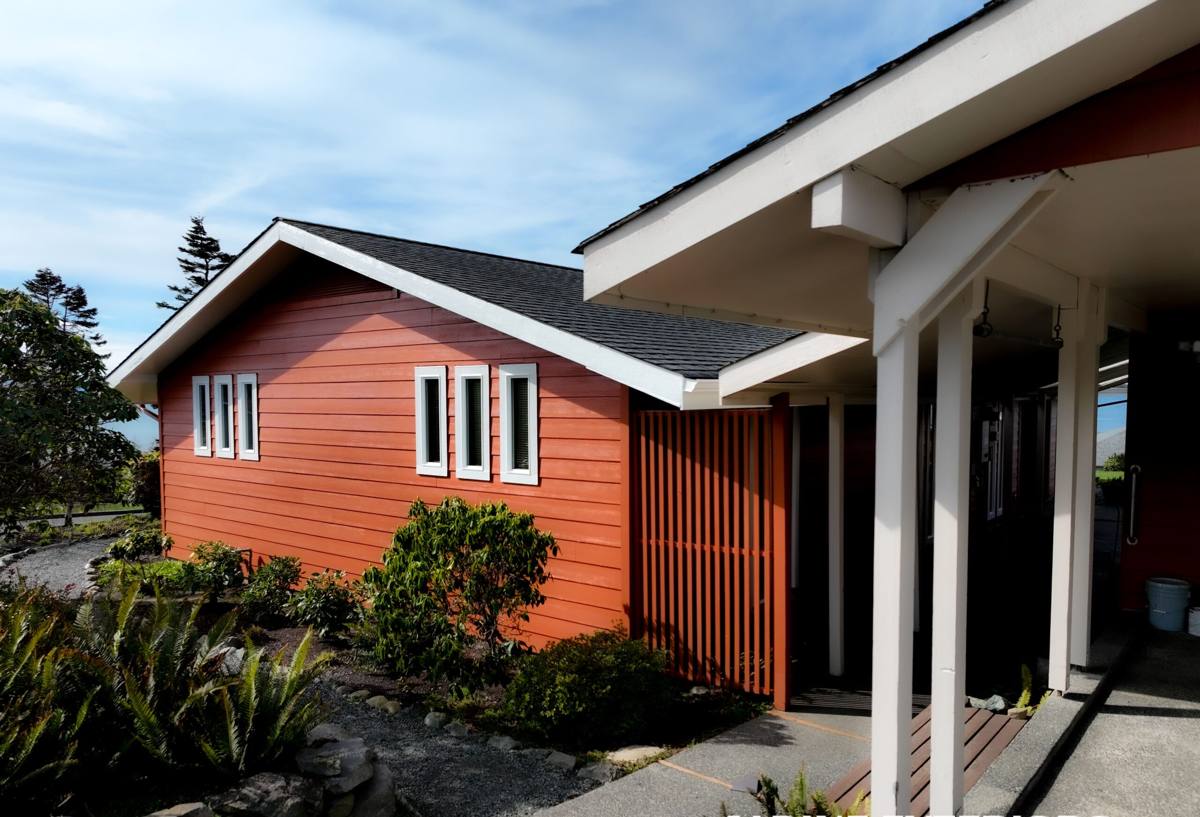
What the Local Climate Actually Demands
Salt Air and Hardware
Airborne salt accelerates corrosion on fasteners, hinges, and cranks faster than most manufacturers' standard warranty testing accounts for. It's not dramatic — it's slow, and it shows up years later as a stiff crank handle or a rust bleed at a screw head. On a new build, this is the easiest problem to prevent and the most annoying one to fix after the siding and trim are already closed in.
Driving Rain
Birch Bay's exposure to open water means wind doesn't just blow rain past a window — it drives it into the wall assembly under pressure. A window that's watertight in a lab test but poorly flashed in the field will leak at the sill or the jamb during a real winter storm, not during a light drizzle. This is a flashing and sequencing issue as much as a window issue.
Moss Season and Sustained Dampness
Whatcom County's moss season isn't a week or two — it's months of low sun angle and constant moisture. North- and west-facing elevations in Birch Bay hold dampness longer than they would inland, which means any gap in the water-resistive barrier around a window opening stays wet longer and gives mold and rot more time to work.
Why New-Construction Installation Is a Different Job Than Replacement
On a new build, there's no existing window to reference and no old flashing to work around — which is an advantage if it's done right, and a liability if it's rushed. New-construction windows have a nailing fin that gets integrated directly into the wall's water-resistive barrier before siding goes on. That means the window installer isn't just setting a window — they're building a piece of the wall's waterproofing system, and it has to happen in the correct order relative to the framer, the WRB installer, and the siding crew.
Get the sequencing wrong — siding installed before flashing is properly lapped, or a sill pan skipped to save time — and the mistake gets buried behind finished walls. It won't show up as a problem until there's already water damage inside a wall cavity, which is a far more expensive fix than doing it right the first time.
What a Correct New-Construction Window Install Involves
Sill Pan Flashing
Every rough opening should get a sloped or flashed sill pan before the window ever goes in. This creates a dedicated drainage path so that any water that does get past the window — through wind-driven rain, condensation, or a future seal failure — has somewhere to go besides into the framing.
Proper Flashing Lap Order
Flashing tape and building paper or house wrap need to be layered so water sheds downward and outward at every layer, like shingles. Side flashing goes over the sill pan; the water-resistive barrier laps over the side flashing; head flashing goes last, over everything below it. Reversing this order defeats the whole system even if every individual piece looks fine.
Head Flashing and Drip Caps
Given how much wind-driven rain this area sees, a head flashing or drip cap above the window isn't optional trim — it's a functional piece that directs water away from the top of the opening before it ever reaches the frame.
Air Sealing and Insulation at the Rough Opening
The gap between the window frame and the rough opening needs to be sealed and insulated correctly — not overpacked with rigid foam that can bow the frame, and not left with gaps that create drafts and cold spots. This affects both energy performance and long-term comfort near the windows.
- Sloped or flashed sill pan under every rough opening
- Flashing installed in correct shingle-lap order — sill, then jambs, then head
- Head flashing or drip cap above the unit
- Nailing fin fully integrated with the water-resistive barrier, not just taped over the top
- Rough opening gap sealed with low-expansion foam or backer rod and sealant, not overpacked
- Corrosion-resistant fasteners and hardware appropriate for a marine environment
- Interior and exterior sealant beads checked for full, continuous contact — no gaps
Choosing Frame Material and Glass for a Coastal Whatcom County Build
There's no single "best" window material — there are trade-offs, and which one makes sense depends on the elevation, the budget, and how much upkeep the homeowner wants to take on. Here's how the common options actually perform in a salt-air, high-rain environment like Birch Bay.
| Frame Material | Coastal Performance | Maintenance | Notes for This Area |
|---|---|---|---|
| Vinyl | Good — won't rust or rot, handles moisture well | Low | Budget-friendly, solid choice for most Birch Bay builds; quality varies a lot by manufacturer |
| Fiberglass | Very good — dimensionally stable, resists warping in temperature swings | Low | Higher upfront cost, holds up well to years of wind and rain exposure |
| Aluminum | Fair — conducts cold and can corrode near salt air without proper coatings | Moderate | We're selective about where we use it on waterfront builds because of corrosion risk |
| Wood-clad | Good exterior protection, but interior wood is vulnerable if any seal fails | Higher | Beautiful option but demands more long-term diligence in a wet climate |
For glass, we typically talk through U-factor and solar heat gain coefficient (SHGC) based on the home's orientation. A west- or north-facing waterfront elevation in Birch Bay has different heat-loss and condensation concerns than a sheltered, south-facing wall, and the glass package should reflect that rather than using one spec across the whole house.
Our Process for New-Construction Window Installation
We coordinate directly with the builder or general contractor so window installation happens at the right point in the framing sequence — not too early, not after siding has already started closing things in.
- Rough opening check. We verify each opening is square, plumb, and sized correctly before any flashing goes on.
- Sill pan and flashing installation. Sloped sill pans and shingle-lapped flashing go in first, integrated with the home's water-resistive barrier.
- Window setting. Units are set, shimmed, and checked for level and square, then fastened per manufacturer specs using corrosion-resistant hardware.
- Air sealing and insulation. The gap around the frame is sealed and insulated without over-compressing the unit.
- Exterior flashing and trim integration. Head flashing and trim are installed so water sheds away from the opening before siding closes it in.
- Final inspection. We check operation, seals, and flashing laps before the crew moves on to siding.
Mistakes We See on New Builds — and Why We Avoid Them
A lot of window callbacks on new construction trace back to a handful of avoidable shortcuts: siding installed before flashing is fully lapped, sill pans skipped because "the window has its own weep system," or standard fasteners used where corrosion-resistant hardware was called for. None of these show up on the day of installation. They show up two, five, or ten years later as staining, soft trim, or a window that's suddenly hard to operate.
Because we work new-construction jobs across Birch Bay and the wider Blaine area regularly, we're used to coordinating with framers and siding crews on timing, not just showing up to install windows in isolation. That coordination is most of what separates a window that performs for decades from one that causes problems the first hard winter.
Why It Matters to Hire a Crew That Already Works This Area
A contractor who mostly works inland jobs isn't wrong about windows in general — they just may not default to marine-grade hardware, sill pan flashing on every opening, or the flashing sequencing that this exposure demands, because it hasn't been forced on them by the environment. Crews that regularly build in Birch Bay and along the Whatcom County coastline treat those details as standard practice, not upgrades, because we've seen what skipping them costs a homeowner down the road.
If you're planning new construction in Birch Bay and want windows installed by a crew that treats salt air, driving rain, and this area's damp season as the baseline rather than the exception, we're happy to walk the plans with you and put together a free, no-pressure estimate — just fill out the form below.