 Blaine
 Window Installation in Custer: The Install Determines the Outcome, Not Just the Window
Custer sits in the flatland north of Ferndale, close enough to the Salish Sea that homes here deal with salt-laden marine air, long stretches of wind-driven rain, and a moss season that runs most of the year on shaded siding and trim. None of that is unique to Custer within Whatcom County, but it does mean window installation here has to account for conditions that a drier, more sheltered climate never puts a window through. A well-made window installed poorly will leak, fog, and let air through within a few winters. A mid-range window installed correctly — with the flashing, sealing, and trim detail done right the first time — will often outlast a premium window that was rushed into a rough opening without proper prep.
This page is specifically about the installation itself: what a correct job looks like, what we do differently because of where Custer sits climate-wise, and how our process works from the first look at the opening to the final bead of sealant. We handle siding, roofing, and decks in addition to windows, which matters here because window flashing has to tie into the surrounding wall system correctly — it isn't a standalone task.
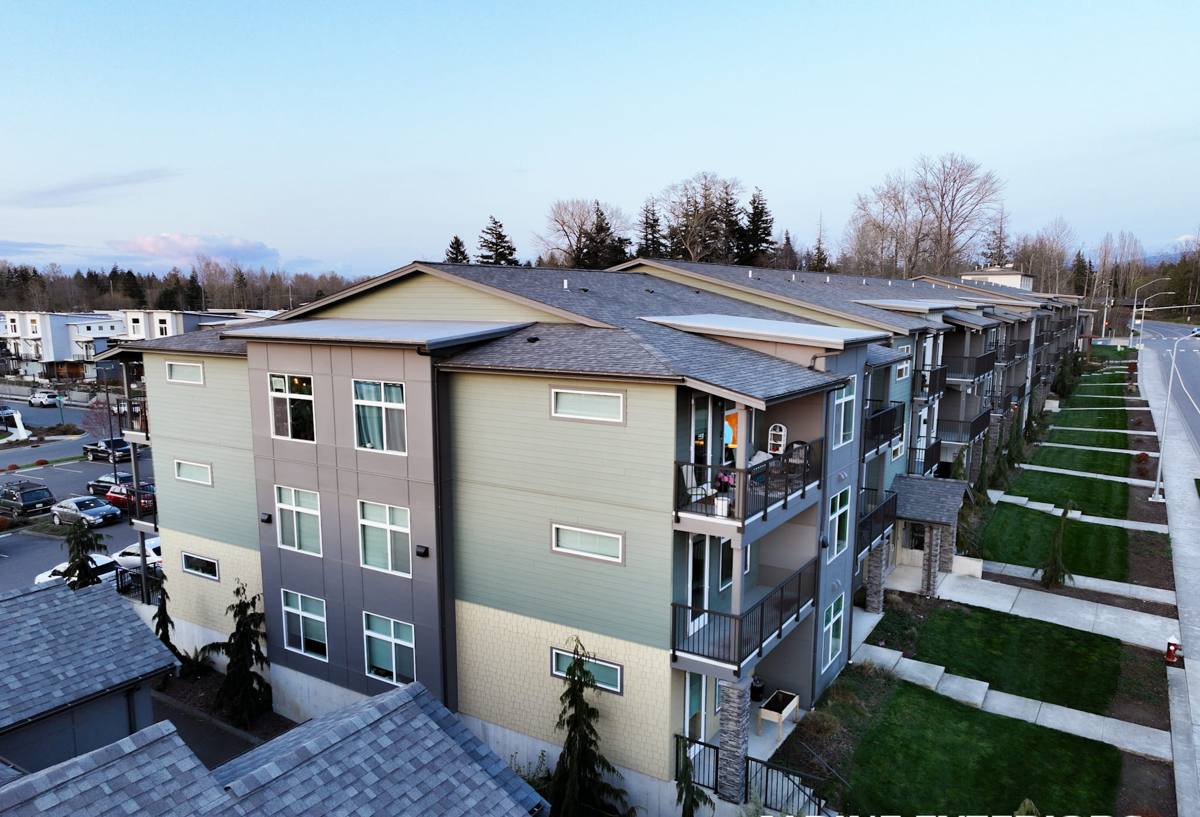
What Custer's Climate Requires From an Installation
Wind-Driven Rain
Open, flat terrain around Custer doesn't slow wind down the way a forested or hillier site might, so storms coming off the water push rain sideways into wall assemblies rather than straight down. An installation built for that has to assume water will reach the window opening, not just hope it doesn't. That means a sloped sill pan that sheds water back out rather than letting it pool, and a flashing sequence that laps correctly so water is always directed outward and downward, never trapped behind the window or siding.
Salt Air and Hardware Longevity
Custer is set back from the immediate waterfront, but it still gets enough salt-carrying air on winter storms to accelerate corrosion on lower-grade fasteners, hinges, and cranks over years of exposure. During installation, that's a reason to use fasteners and flashing tape rated for the exposure the site actually gets rather than whatever's cheapest, and to make sure any exposed metal — drip caps, flashing, screws — is a material that won't start pitting or staining within a handful of seasons.
Moss, Mildew, and Standing Moisture
Mild temperatures and near-constant dampness through fall, winter, and spring give moss and mildew a long growth window across this part of Whatcom County. For window installation, the practical takeaway is drainage: any horizontal surface at a window opening — the sill, the top of trim boards, the head flashing — needs to shed water rather than hold it. An installer who doesn't slope the sill pan or leave a drainage gap behind trim is building in a spot where moisture sits, and that's exactly where moss, mildew, and eventually rot show up first.
What a Correct Window Installation Actually Involves
Removing the Old Window Without Damaging the Opening
On a replacement, the first real risk to the job happens during removal. Pulling an old window out carelessly can tear the water-resistive barrier (WRB) or damage the rough framing, and if that damage isn't caught and repaired before the new window goes in, it undermines the whole installation regardless of how well the new unit is set. We remove old units carefully and inspect the opening before moving forward.
Inspecting and Repairing the Rough Opening
Every opening gets checked for square, level, and soundness before a new window goes in. In a climate this wet, it's common to find some degree of moisture staining, soft framing, or a WRB that's already compromised around older windows — especially on homes that have gone a decade or more without the flashing being touched. Any of that gets addressed before installation continues, not covered over.
The Flashing Sequence
This is the part of the job that determines whether a window leaks, and it happens in a specific order: a sloped sill pan goes in first to catch and direct any water that gets past the window itself, then the window is set, then jamb flashing and head flashing integrate with the WRB above and around the opening — always lapped so water sheds outward and down, never trapped behind a layer that dead-ends it into the wall. Sealant supports this system; it doesn't replace it. A window sealed with caulk alone and no proper flashing sequence is one worth being cautious about.
Shimming, Fastening, and Air Sealing
A window has to be shimmed square and plumb at the right points around the frame so it operates smoothly and doesn't rack out of shape over time, then fastened per the manufacturer's schedule — not just wherever's convenient. Once it's set, the gap between the window frame and the rough opening gets air-sealed with a compatible low-expansion foam or backer rod and sealant, which cuts drafts and keeps the wall assembly from becoming a moisture and air pathway.
Interior and Exterior Trim
Trim is both a finish detail and a functional one. Exterior trim gets back-primed or factory-finished on cut ends before installation, sealed at the right joints (and deliberately left open at others so water can escape rather than get trapped), and set with a drainage gap where called for. Interior trim and sill work finish the job but don't compensate for anything skipped on the exterior side — water intrusion problems almost always trace back to the exterior detailing, not the inside finish.
New Construction vs. Replacement (Pocket) Installation
Which method applies depends on the condition of the existing frame and whether the siding around the opening is being disturbed anyway. Both can be done correctly; the difference is how much of the original opening and flashing gets rebuilt versus reused.
| Factor | New Construction / Full-Frame | Replacement (Pocket) Install |
|---|---|---|
| What happens to the opening | Old frame removed down to the rough opening; flashing and sill pan rebuilt from scratch | New window inserts into the existing frame, which stays in place |
| Best suited for | Openings with damaged framing, failed flashing, or when siding is already being replaced | Sound existing frames with intact flashing and no signs of water damage |
| Access to fix hidden problems | Full access to inspect and repair framing, WRB, and flashing | Limited — existing frame condition is mostly taken on faith |
| Labor and disruption | More labor-intensive; often ties into siding work | Faster, less disruptive to surrounding siding and trim |
| Long-term risk in this climate | Lower, since flashing is rebuilt to current standards | Depends entirely on the condition of the original flashing being reused |
In a climate with this much sustained moisture exposure, we lean toward full-frame installation whenever there's any doubt about the condition of the existing flashing or framing. A pocket install is a reasonable choice on a sound, well-maintained opening, but it's not the right call on a frame that's already showing signs of past water intrusion.
Our Installation Process
We start with an on-site assessment of each opening — checking the existing frame, flashing, and siding condition, and confirming accurate measurements before anything is ordered. From there we give a straightforward recommendation on full-frame versus replacement installation for each window individually, since not every opening on a home needs the same approach. Once materials arrive, removal, opening inspection, flashing, setting, air sealing, and trim all follow the sequence above on every job — flashing integration isn't an upgrade option, it's standard practice. We walk through the finished work with the homeowner before considering the job done.
Installation Mistakes We Commonly Find and Correct
- Sealant used as the only barrier against water, with no sloped sill pan or proper flashing lap underneath it
- Flashing that laps the wrong direction, directing water into the wall instead of out of it
- Rough openings with visible past water damage that were covered over instead of repaired
- Trim installed without a drainage gap, trapping moisture against the wall behind it
- Fasteners or hardware not rated for salt-influenced marine air, showing early corrosion
- Windows shimmed unevenly, causing binding, drafts, or difficulty locking within a year or two
A Checklist for Hiring Window Installation in Custer
- Ask specifically how they handle the flashing sequence — sill pan, jamb, head flashing — not just what window brand they carry
- Confirm whether they recommend full-frame or replacement installation for your specific openings, and why
- Confirm current Washington contractor licensing and active liability insurance
- Get a written scope that separates the manufacturer's product warranty from the contractor's installation warranty
- Ask what happens if they find damaged framing or a compromised WRB once the old window is removed
- Ask about lead times — custom-sized windows for this region commonly take several weeks to arrive
Why a Crew That Already Works Custer Matters
Installation quality comes down to a series of judgment calls made on-site: how much lap a flashing detail needs, whether a particular opening calls for full-frame versus replacement installation, which hardware grade is worth specifying given the exposure. A crew that regularly works this stretch of Whatcom County has already made those calls on homes facing the same wind, rain, and marine air conditions, rather than applying assumptions built for a drier or more sheltered climate. That familiarity is what separates an installation that holds up through one wet winter from one that holds up through several decades of them.
If you're planning a window installation in Custer — whether it's a full home or a handful of problem openings — we're happy to take a look, walk through full-frame versus replacement options for your specific windows, and give you a straightforward, no-pressure estimate. Reach out below to get started.