 Blaine
 Why Dakota Creek Roofs Wear on Their Own Schedule
Dakota Creek sits close enough to the water and the Canadian border that its roofs take a different beating than roofs twenty miles inland. Salt-laden air off the Strait of Georgia corrodes exposed metal fasteners and flashing faster than manufacturers' warranties usually assume. Driving rain, pushed sideways by wind off the water, finds every weak lap, nail pop, and undersized flashing detail a roof has. And Whatcom County's long, wet shoulder seasons give moss months to gain a foothold on north-facing slopes and anywhere shade lingers. None of this means a roof here fails faster than it should — it means a roof here has to be built and maintained with those three stressors in mind from day one, not treated like a generic install.
When we talk about roof replacement for this neighborhood specifically, we're talking about material choices, fastening details, and ventilation decisions tuned to salt air, driving rain, and moss — not a one-size-fits-all spec sheet.
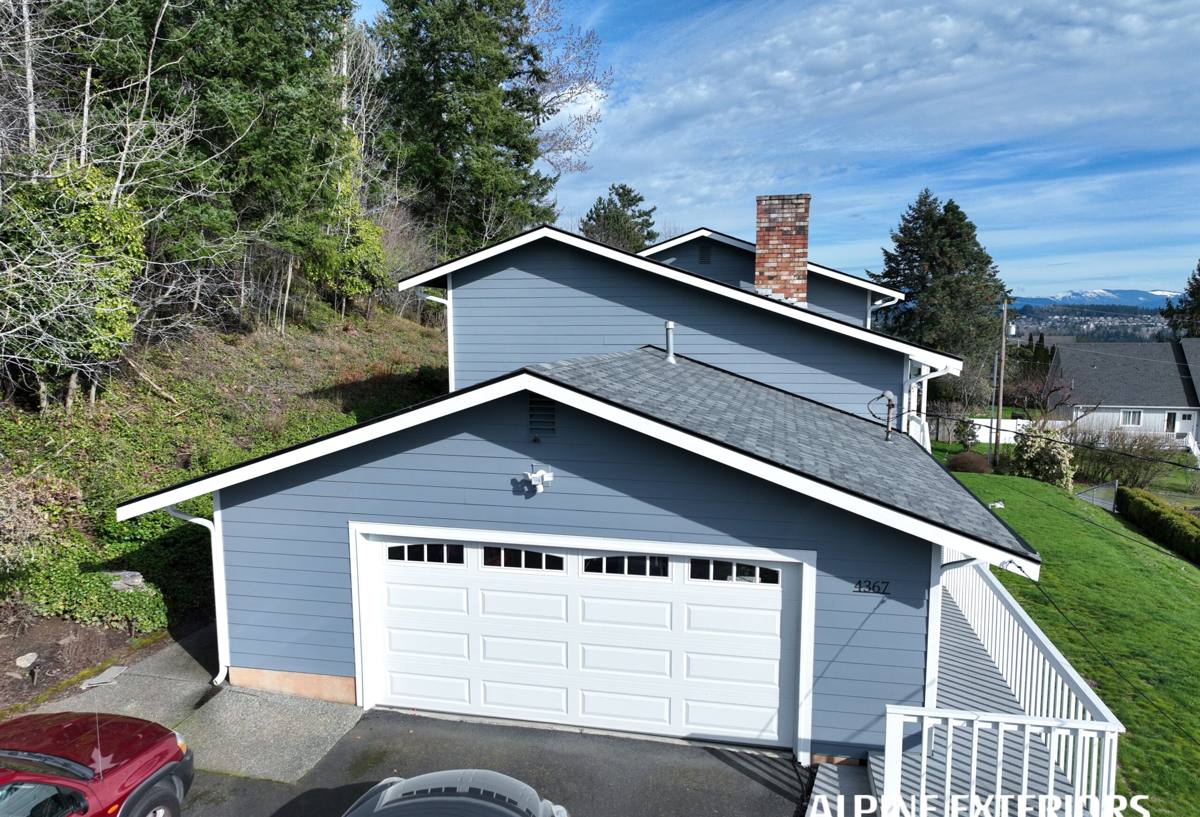
Signs a Dakota Creek Roof Has Moved Past Repair
Most roofs give warning before they fail outright. The trick is reading those signs correctly instead of throwing another repair at a roof that's telling you it's done.
- Granule loss heavy enough that you're finding grit in gutters and downspouts every season
- Shingles that are cupping, curling, or cracking, especially on south and west-facing slopes
- Moss mats thick enough to hold moisture against the roof surface rather than just staining it
- Soft or spongy decking felt underfoot during an inspection, or daylight visible at the eaves
- Repeated leaks around the same penetration or valley despite prior patch repairs
- A roof approaching or past the manufacturer's expected service life for its material and exposure
- Rusting or failing flashing at chimneys, skylights, and roof-to-wall transitions
One or two of these on their own might still be repairable. Several together, especially combined with a roof already in its second or third decade, usually means replacement is the more honest recommendation — and the more economical one once you account for repeat repair calls.
What an Actual, Correct Roof Replacement Involves
A roof replacement done right isn't just stripping old shingles and nailing down new ones. Given what this area throws at a roof, a few steps matter more here than they would somewhere drier and calmer.
Full Tear-Off and Deck Inspection
We remove the existing roofing down to bare decking rather than layering over it. That's the only way to actually see the plywood or plank sheathing underneath, catch any soft or delaminated sections caused by long-term moisture intrusion, and replace only what needs it — not the whole deck, and not none of it.
Ice and Water Shield at Vulnerable Points
Eaves, valleys, and roof penetrations get self-adhering waterproof underlayment beneath the field underlayment. In a spot that sees driving, wind-blown rain, this is the difference between water shedding off the roof and water finding its way sideways under a shingle edge.
Flashing That's Actually Corrosion-Rated
Given the salt air off the water, we don't treat flashing as an afterthought. Chimney, valley, and roof-to-wall flashing gets material chosen for corrosion resistance, not just the cheapest option that technically meets code.
Proper Fastening for Wind Exposure
Nail pattern and fastener count matter more on a roof that regularly takes sideways wind and rain than on a sheltered inland roof. We follow manufacturer specs for high-wind zones rather than a standard nailing schedule, because a shingle that lifts once starts a leak that shows up months later, far from where the wind actually got under it.
Choosing a Roofing Material That Holds Up Here
There's no single "best" roofing material for every home — it depends on budget, roof pitch, architectural style, and how much long-term maintenance an owner wants to take on. What we can say honestly is how the common options behave under salt air, driving rain, and moss pressure specifically.
| Material | Salt Air Behavior | Moss Resistance | Maintenance Burden |
|---|---|---|---|
| Architectural asphalt shingle | Good with corrosion-rated flashing and fasteners | Moderate — benefits from zinc/copper strips or periodic treatment | Low to moderate |
| Standing seam metal | Very good with the right coating and fastener spec | Excellent — moss struggles to hold on a smooth, sloped metal surface | Low |
| Cedar shake | Fair — needs diligent maintenance near salt exposure | Poor without regular cleaning and treatment | High |
| Composite/synthetic shingle | Good, consistent performance | Moderate to good depending on product | Low |
We'll walk through these trade-offs against your specific roof and budget rather than push one product line. If we don't recommend cedar shake for a shaded, moss-prone slope, it's because of the maintenance commitment it demands here — not because the material itself is bad.
Ventilation and Moisture Control
A new roof surface is only half the job. Attic ventilation controls how much moisture builds up underneath the decking, and in a climate this wet, poor ventilation shortens a roof's life regardless of how good the shingles are. We check intake at the eaves and exhaust at the ridge as part of every replacement, and we'll flag it plainly if your current setup is undersized or blocked — this is one of the most common reasons roofs in this area fail early from the inside out rather than the outside in.
Our Roof Replacement Process
- On-site inspection and estimate. We look at the existing roof, decking condition where visible, ventilation, and flashing details, then give you a written estimate with material options.
- Material selection. We go over the trade-offs above in the context of your roof's pitch, exposure, and your budget — no pressure toward the most expensive option.
- Scheduling around weather. Given how much rain this area sees, we plan tear-off and dry-in around forecast windows rather than starting a job we can't get watertight the same day.
- Tear-off and deck repair. Old roofing comes off, decking gets inspected and repaired as needed, and we show you what we found before covering it back up.
- Underlayment, flashing, and ventilation installation. Ice and water shield at vulnerable points, corrosion-rated flashing, and ventilation corrections if needed.
- Roofing installation. Installed to manufacturer spec for wind exposure, with attention to fastening pattern and coverage at edges and penetrations.
- Cleanup and final walkthrough. Site cleared of debris and nails, and we walk the finished roof with you.
What Drives Cost on a Roof Replacement
We're not going to quote a number without seeing your roof, but here's what actually moves the price up or down so you're not guessing blind.
| Factor | Effect on Cost |
|---|---|
| Roof size and number of layers to remove | Larger roofs and multi-layer tear-offs increase labor and disposal cost |
| Roof pitch and access | Steeper or harder-to-access roofs require more safety setup and time |
| Decking condition | Rotten or soft sheathing found during tear-off adds material and labor to replace it |
| Material choice | Asphalt is typically the most affordable; metal and cedar carry higher material and install costs |
| Ventilation and flashing corrections | Fixing undersized ventilation or outdated flashing adds scope but prevents early failure |
| Number of penetrations and valleys | Chimneys, skylights, and complex valleys add detail work and material |
We'll break these out clearly in your estimate rather than handing you a single lump number you can't evaluate.
Timeline and What to Expect During the Work
Most single-family roof replacements in this area take one to a few days of active work, depending on size, pitch, and how much decking repair turns up once tear-off starts. The bigger variable here is weather scheduling — we'd rather push a start date a day or two to land inside a dry window than rush a tear-off and leave your home exposed to driving rain overnight. Expect noise, some yard and driveway disruption during material delivery and debris removal, and a walkthrough at the end where we point out what was done and answer questions before we consider the job finished.
Why Local Experience on This Job Actually Matters
A roofing crew that's worked other homes in and around Blaine and Whatcom County already knows how wind off the water behaves on exposed slopes, which flashing details tend to fail first in salt air, and how aggressive moss growth gets on shaded north faces in this particular climate. That's not something you can fully substitute with a generic spec sheet from a manufacturer based somewhere drier. It also means we're familiar with Whatcom County's permitting expectations for reroofing work, so there are no surprises mid-project on that front. None of this is exotic knowledge — it's just the difference between a crew that's guessing at regional conditions and one that's already accounted for them.
Keeping a New Roof Performing After Install
A well-installed roof still benefits from basic upkeep in a climate like this one. A little attention goes a long way toward hitting the full service life of the material you paid for.
- Clear gutters and downspouts at least twice a year so water isn't backing up under the eaves
- Remove moss buildup before it mats thick enough to hold moisture against the roof surface
- Trim back overhanging branches that keep shaded areas of the roof damp longer than the rest
- Have flashing and penetrations checked every few years, especially after major windstorms
- Address any small leak or soft spot immediately rather than waiting for it to spread
If you're weighing repair versus replacement, or just want an honest read on where your current roof stands, we're happy to take a look. Reach out for a free, no-pressure estimate using the form below.