 Blaine
 Building New on Birch Point: What Your Windows Are Really Up Against
Birch Point sits out on the water, which is exactly why people build here — and exactly why the windows on a new home need more thought than a standard spec-sheet install. This stretch of Whatcom County gets a steady diet of salt-laden air off the water, wind-driven rain that hits siding and glazing sideways rather than straight down, and a long stretch of the year — fall through spring — where moisture just sits on every north- and west-facing surface. Add in moss and algae growth that takes hold anywhere airflow is poor, and you've got a set of conditions that will find every weak point in a window installation within a few winters.
None of this means new construction on Birch Point is a problem. It means the installation has to be done with this exposure in mind from the first rough opening, not patched later. New construction is actually the best possible time to get it right, because the flashing, the water management plane, and the window unit itself can all be sequenced correctly before siding ever goes up.
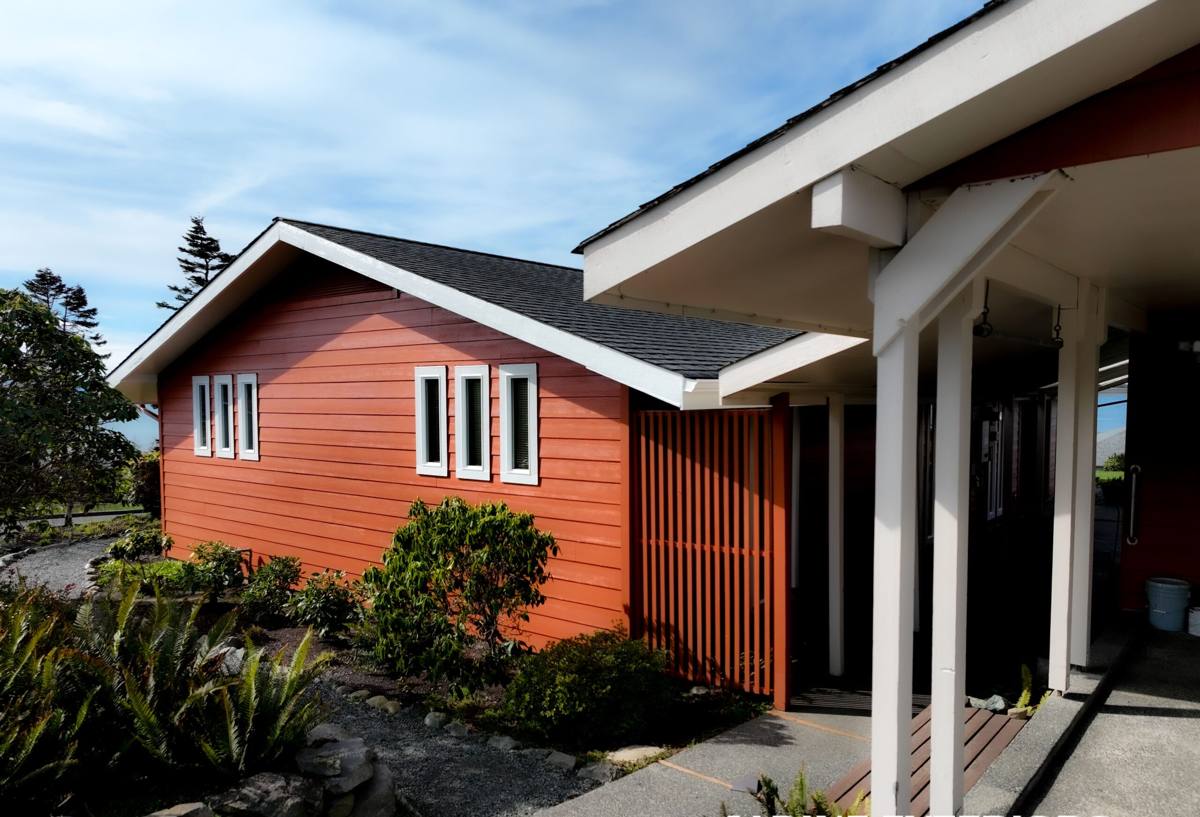
Why New Construction Is the Best Time to Get This Right
On a remodel or a window replacement, we're often working around existing framing, existing siding, and whatever water management (or lack of it) was built in originally. New construction removes those constraints. We get to set the window opening, integrate the flashing with the house wrap or weather-resistive barrier, and tie everything into the sill pan and drainage plane before any finish material covers it up.
That matters more on Birch Point than in a typical inland Whatcom County build. A waterfront or near-waterfront lot sees higher wind-driven rain loads and more sustained moisture exposure, so the margin for error in flashing sequence and sealant placement is smaller. Get it right during framing, and the windows will perform for decades with basic maintenance. Get it wrong, and the first sign of trouble is usually staining or soft trim two or three years in — by which point the damage is already behind the wall.
What a Correct New-Construction Window Job Involves
A proper install isn't just setting a window in an opening and running a bead of caulk around the outside. For new construction, the sequence generally looks like this:
- Rough opening checked for square, level, and correct size before the window ever arrives on site
- Sill pan flashing installed and sloped to drain any water that gets past the window back out, not into the wall cavity
- Window set, shimmed, and fastened per the manufacturer's structural requirements — not just "however it fits"
- Jamb and head flashing integrated with the weather-resistive barrier in the correct shingle-lap order, so water sheds down and out
- Interior and exterior air sealing done separately from water management, using the right sealant for each location
- Final check for operation, square, and drainage before siding or trim closes the opening up
Skip or shortcut any one of those steps and the window itself — no matter how good the unit is — becomes the weak point in the wall.
Flanged vs. Block Frame Windows: Which Fits a Birch Point Build
New construction gives you a choice that a replacement project usually doesn't: flanged (nail-fin) windows or block-frame windows. Both are legitimate approaches, but they behave differently under sustained wind-driven rain, which is the deciding factor out here.
Flanged windows integrate directly with the house wrap and flashing tape, which makes for a very reliable water-management system when installed correctly — and it's the more common approach for new builds because the flashing details are well established and easy to inspect during framing. Block-frame windows sit inside the rough opening and rely on flashing built around the frame itself; this is more common with certain siding systems or when a specific architectural look is wanted. On an exposed lot, we make the call based on the siding material, the wall assembly, and how much direct rain exposure that particular elevation gets — a south or west wall facing open water gets treated differently than a sheltered north wall.
Materials That Actually Hold Up Out Here
Salt air and constant moisture are hard on some window materials and barely notice others. Here's how the common frame materials compare for this specific exposure:
| Frame Material | Salt Air / Coastal Performance | Maintenance Burden |
|---|---|---|
| Vinyl | Good — won't corrode, but check UV-stable formulations for long-term color hold | Low — occasional cleaning |
| Fiberglass | Very good — dimensionally stable, resists moisture-driven expansion and contraction | Low |
| Aluminum-clad wood | Fair — cladding protects the exterior face, but any breach exposes wood to rot | Moderate to high — seams and corners need monitoring |
| Bare wood | Poor for direct coastal exposure without diligent upkeep | High — regular refinishing required |
For most Birch Point builds we lean toward vinyl or fiberglass on exposed elevations, simply because they don't give salt air and moisture a foothold. That's a professional judgment call based on how the material behaves over time in this exposure — not a knock on any brand or product line. Wood and clad-wood windows can still be the right choice for a specific look, but they need a clear maintenance plan from day one if they're going on a wall that takes direct weather.
Moss, Algae, and Airflow Around Window Openings
Whatcom County's long wet season means moss and algae aren't just a roofing problem — they take hold anywhere moisture lingers and airflow is blocked, including window sills, trim, and the tops of casings on shaded or north-facing walls. Proper flashing and drainage keep bulk water out of the wall, but the finish details matter too: sill design that sheds water instead of pooling it, trim gaps that allow airflow, and drip caps above the window that throw water clear of the opening below.
These are small details that cost very little to get right during construction and are genuinely difficult and expensive to retrofit once siding and trim are closed up. This is exactly the kind of thing that separates a window install that looks fine at closing from one that still looks fine ten years later.
Our Process for New-Construction Window Installs
We work new-construction window installs on Birch Point and the surrounding Blaine area on a straightforward sequence:
- Review the plans and rough openings before framing is finalized, flagging any sizing or structural issues early
- Coordinate with the framer or general contractor on wall assembly and weather-resistive barrier type
- Install sill pans, flashing, and window units in the correct sequence, elevation by elevation
- Adjust flashing detail and sealant choice based on each wall's actual sun and rain exposure
- Document and photograph flashing before it's covered by siding, so there's a record of what's behind the wall
- Final walkthrough on operation, seals, and drainage before the home is closed up
That documentation step matters more than people expect — it means if a question ever comes up years later about how a wall was built, there's a real record instead of guesswork.
Common Mistakes We See in New Construction Window Installs
Most window problems we get called out to fix on newer homes trace back to a handful of recurring issues:
- Flashing installed in the wrong order, so water is directed into the wall instead of away from it
- Sealant used as the primary water barrier instead of a backup to proper flashing
- Rough openings cut oversized "to be safe," leaving gaps that get stuffed with foam instead of shimmed and flashed correctly
- No sill pan, or a sill pan that isn't sloped to drain
- Window units fastened without following the manufacturer's structural fastening schedule, which can affect both performance and warranty coverage
Every one of these is preventable, and every one of them is dramatically cheaper to avoid during framing than to correct after the home is finished.
Cost Factors for New-Construction Windows
Costs vary based on the home's design and window count, but the factors that move the number are consistent:
| Factor | Why It Affects Cost |
|---|---|
| Frame material | Fiberglass generally costs more up front than vinyl; both cost less over time than high-maintenance materials |
| Number and size of openings | Larger units and more openings mean more flashing detail work, not just more glass |
| Wall exposure | Elevations facing open water or prevailing wind may warrant additional flashing or sealant detailing |
| Glazing package | Upgraded glass for energy performance or sound control adds cost but reduces long-term utility bills |
| Site access | Waterfront and hillside lots can add labor time for material staging and scaffolding |
We're happy to walk through these factors against your actual plans rather than quoting off a generic average — every Birch Point lot handles exposure a little differently.
Why Hiring a Crew That Already Works Birch Point Matters
A window installer who mostly works inland jobs isn't wrong about windows in general — they just haven't had to solve for this exposure repeatedly. Working Birch Point and the broader Blaine waterfront regularly means we already know which elevations need extra flashing attention, how the wind typically drives rain on a given lot orientation, and where moss and algae tend to establish first. That's knowledge that only comes from doing the work here, season after season, and it shows up in details a homeowner might never think to ask about until something goes wrong.
It also means we're not guessing at code requirements or inspection expectations for Whatcom County new construction — we know what the inspectors here are looking for, because we've been through it before on similar builds nearby.
Ready to Talk Through Your Build
If you're building new on Birch Point and want windows installed the right way the first time, we're glad to walk your plans, talk through material options for your specific lot exposure, and give you a straightforward, no-pressure estimate. Fill out the form below and we'll get back to you.