 Blaine
 Why Storm Damage Hits Peace Arch Roofs Differently
Peace Arch sits right where the Salish Sea weather meets the border, and that combination is hard on roofs in ways that inland Whatcom County homes don't deal with as much. Wind off the water drives rain sideways under shingle tabs and flashing laps that were never meant to shed water horizontally. Salt-laden air off Boundary Bay and Drayton Harbor accelerates corrosion on nails, flashing, and vent stacks faster than the manufacturer's warranty tables assume. And because this stretch of Blaine stays cool and damp for most of the year, moss and moisture-loving algae get a long head start every fall and don't fully let go until well into spring.
None of that means Peace Arch roofs fail faster across the board. It means the failure points are different — edges, valleys, penetrations, and fastener corrosion — and a repair that doesn't account for those specific weak points tends to come back within a season or two.
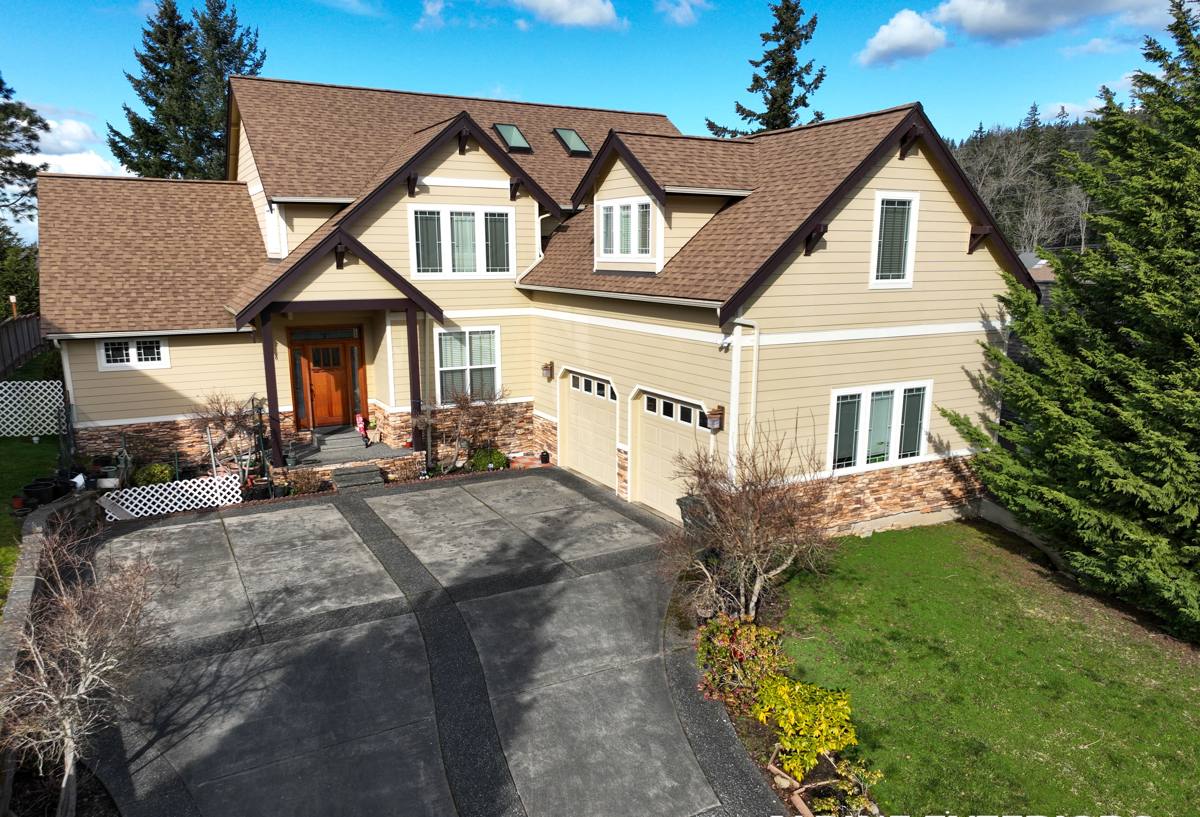
Signs Your Roof Has Storm Damage
Storm damage isn't always a dramatic hole or a tree limb through the deck. Most of what we get called out for after a wind event is quieter than that.
What to look for outside
- Shingles that are lifted, curled at the corners, or missing outright — check the downwind slopes first
- Granules collecting in gutters or at downspout outlets after a storm
- Flashing pulled loose around chimneys, skylights, or where a roof meets a wall
- Bent, dented, or displaced vent caps and pipe boots
- Fresh moss or dark streaking concentrated where wind-driven rain pooled or slowed down
What to look for inside
- A new water stain on the ceiling or upper wall, even a faint one
- Musty smell in an attic or closet under the roofline that wasn't there before
- Daylight visible through the roof deck from inside the attic
Interior signs often show up days or weeks after the storm, once water has had time to work its way through the deck and insulation. That lag is one reason we recommend a roof check after any significant wind event, even if nothing looks obviously wrong from the ground.
What a Correct Storm Damage Repair Actually Involves
A storm repair done right is more than swapping the shingles that are visibly gone. Wind that's strong enough to strip shingles has usually also stressed the fasteners and underlayment around them, and salt air has usually already started working on any exposed metal nearby.
A correct repair addresses:
- The deck itself — checking for soft spots or delamination before anything new goes down, since covering a compromised deck just hides the problem
- Underlayment — replacing torn or soaked underlayment, not just the shingles above it
- Flashing — resealing or replacing flashing at every penetration nearby, since a single failed flashing point is behind a large share of the leaks we trace back
- Fastener pattern — nailing to the shingle manufacturer's high-wind spec, which matters more here than in more sheltered parts of the county
- Matching materials — using shingles and flashing that match the existing roof's age and exposure close enough that the repair doesn't weather at a visibly different rate
Skipping any one of those steps is how a "fixed" roof ends up leaking again in the next storm, just in a slightly different spot.
Repair or Replace? Key Factors
Not every storm-damaged roof needs a full replacement, and not every roof that looks rough is actually a repair candidate. The honest answer depends on a few things we check during the estimate.
| Factor | Favors Repair | Favors Replacement |
|---|---|---|
| Roof age | Under roughly half its expected lifespan | Already near or past its expected service life |
| Damage extent | Isolated to one slope or a few penetrations | Spread across multiple slopes or recurring in the same areas |
| Deck condition | Solid, no soft spots or rot | Soft decking, rot, or repeated past water intrusion |
| Moss/algae history | Manageable with cleaning and spot treatment | Heavy, long-term growth that's degraded the shingle mat |
| Prior repairs | First significant repair on this roof | Multiple patch jobs already stacked on top of each other |
We'll tell you straight which side of that table your roof falls on. A repair that's really just delaying an inevitable replacement isn't a good use of your money, and we'd rather say so up front than sell you a patch twice.
Materials That Hold Up to Salt Air and Moss
Shingles
For repairs and patches in this area, we lean toward algae-resistant shingle lines where the existing roof allows it — the copper or zinc granule blend built into those shingles slows the moisture-loving growth that Peace Arch's damp, shaded lots tend to encourage. It's not a permanent fix for moss, just a material choice that buys more time between cleanings.
Flashing and fasteners
Standard galvanized flashing and fasteners corrode noticeably faster this close to salt water. Our standard for repairs in the Peace Arch area is stainless or heavier-gauge corrosion-resistant flashing and fasteners wherever it's practical, even when it costs a bit more up front than what code minimum requires. It's a maintenance and longevity trade-off we think is worth making on a home exposed to salt air year-round.
Sealants
Not every roofing sealant is rated for constant damp exposure. We use sealants suited to sustained moisture contact rather than general-purpose products that can dry out or crack under this area's near-constant humidity.
Our Storm Damage Repair Process
1. Inspection and documentation
We walk the roof (or inspect from a lift or drone where pitch or access makes that safer) and document every point of damage with photos, before any work starts. That documentation is what supports an insurance claim if you're filing one.
2. A straight assessment
We tell you what's storm damage, what's pre-existing wear, and what's cosmetic versus what's actually letting water in. Insurance only covers the first category, and we'd rather you know the difference than find out later.
3. Temporary protection if needed
If there's active water intrusion, we get a tarp or temporary patch on before the full repair is scheduled, so the damage doesn't spread while materials are ordered.
4. The repair
Deck, underlayment, flashing, and shingles addressed together as described above — not just the visible surface layer.
5. Cleanup and final check
Gutters and downspouts cleared of debris and granules from the repair, since a clogged gutter after a storm repair is one of the fastest ways to get a fresh water problem at the eaves.
Working With Your Insurance Claim
Wind and storm damage is often covered under homeowners' policies, but coverage details, deductibles, and what counts as "storm-caused" versus "wear and tear" vary by carrier and policy. We're not your insurance adjuster and won't promise a claim outcome, but we can provide the photo documentation and a written scope of damage that most adjusters expect to see, and we're glad to walk the roof with your adjuster if that's useful. Get your own roof inspected and documented as soon as reasonably possible after a storm — most policies have a window for filing, and damage that sits unaddressed can sometimes be used to argue it isn't storm-related.
Why a Crew That Already Works Peace Arch Matters
A repair crew that regularly works this part of Blaine already knows which flashing details tend to fail first in wind off the water, which slopes catch moss fastest given the tree cover and shade patterns common on these lots, and roughly what a given roof's age and exposure should look like versus what's actually storm damage. That local pattern recognition is the difference between a repair that addresses the real weak point and one that just replaces what's visibly missing.
It also means we're not learning Whatcom County's permitting and inspection expectations on your roof — and if a repair turns out to need follow-up after the next storm season, we're a known, local call rather than a name from an out-of-area storm-chasing crew that won't be around in six months.
After the Storm: A Homeowner Checklist
- Walk the yard and check for granules, shingle pieces, or flashing debris after any strong wind event
- Check ceilings and attic spaces for new stains, dampness, or smells within a few days of the storm
- Photograph anything unusual before cleaning it up, in case it's needed for a claim
- Avoid climbing onto the roof yourself, especially on wet or mossy surfaces — that's how most storm-related injuries we hear about happen
- Get a professional inspection before the next storm arrives, not after a second one makes the damage worse
- Keep gutters and downspouts clear so any repair work drains the way it's designed to
If a recent storm has left you wondering whether your roof needs attention, we're glad to take a look. Fill out the form below for a free, no-pressure estimate — we'll tell you honestly what we find, what it needs, and what it doesn't.